docker run -d --name couchmusic -p 8091-8096:8091-8096 \
-p 11210-11211:11210-11211 \
registry.gitlab.com/couchbasesamples/couchbase-training:1.1Install Couchbase server, project files, and REST API tool for testing
Introduction
In this lab you will set up the foundational components of this and future labs.
What you will gain experience with:
-
Locating and downloading Couchbase server software
-
Installing and configuring Couchbase Server 6.6 as a single node
-
Using the Couchbase administration console
Estimated time to complete: 30 minutes
Instructions
This lab assumes you do not have Couchbase Server CE 6.6 installed. If you do, you should be able to complete all labs in this course using your existing installation. But, you may encounter small differences relative to the lab descriptions, depending on your version and configuration.
Install and configure Couchbase Server 6.6 as a single node cluster
-
There are a number of ways to install and set up the Couchbase Server.
-
Use the Couchbase Server Docker container
To use this container, you will need to have the ability to install Docker Desktop
Issue the following command from a Mac or Linux terminal window.
Alternatively, you can use this command for Windows (using the Windows cmd window), which uses different line continuation symbols
docker run -d --name couchmusic -p 8091-8096:8091-8096 ^
-p 11210-11211:11210-11211 ^
registry.gitlab.com/couchbasesamples/couchbase-training:1.1
Open a browser to: http://localhost:8091
-
Download Couchbase Server Community Edition 6.6.0 for your operating system.
Browse to the following link to download and install on your native operating system.
-
Review the Release Notes, and install as described in the documentation for your OS:
Note, on Windows, you must run the installer using elevated Administrator permissions.
-
Unless the Couchbase Setup tool launches automatically, open a web browser, and browse to this URL to launch the Setup tool.
-
-
-
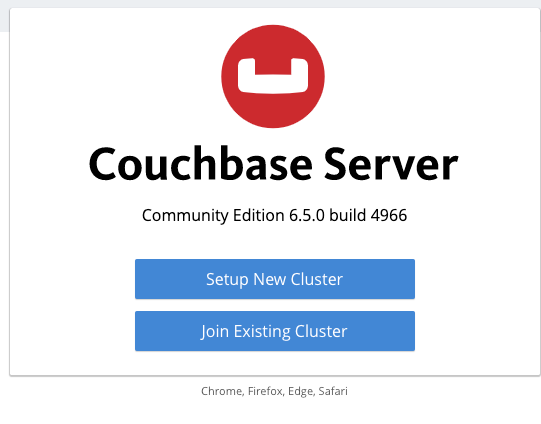
Regardless of installation method, you should now be presented with the following splash page.
Select Setup New Cluster.

-
In the Setup tool, review all settings and accept all defaults, except for changing these:
-
Cluster Name: Couchify Cluster
-
Admin Username: Administrator
-
Password: password
-
Accept the Terms and Conditions (check)
-
Configure Disk, Memory, Services (click)
-
Data (enable and set): 768mb
-
Query (enable, no memory setting)
-
Index (enable and set): 256mb
-
Search (enable and set): 256mb
-
-
Leave all remaining settings
NoteIf requested by your local firewall, accept incoming network connections for beam.smp, memcached, epmd, indexer, moxi, projector, cbq-engine, and cbft. A full list of port requirements is available here: https://docs.couchbase.com/server/current/install/install-ports.html NoteThe settings above run a single low-impact Couchbase instance on a local system for learning purposes only. Please see the Couchbase documentation for guidance on memory sizing for production machines, or for any performance-related purpose.
-
-
Make a note of the Total Quota amount for the total of all service memory quotas. You will be asked for this amount in your course assessment.
-
After clicking Next: Accept Terms, Accept the terms and conditions
-
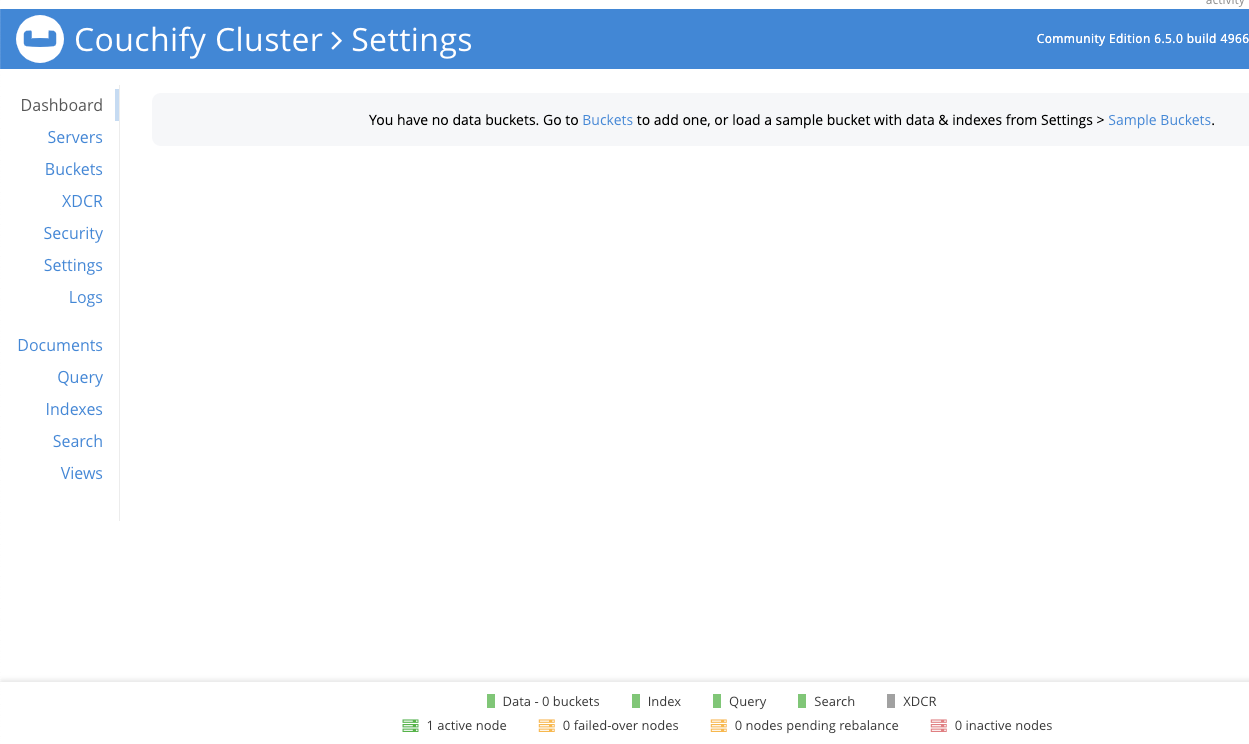
After saving and finishing Setup, you should see this. If not, browse http://localhost:8091.

Survey the Couchbase administration console
-
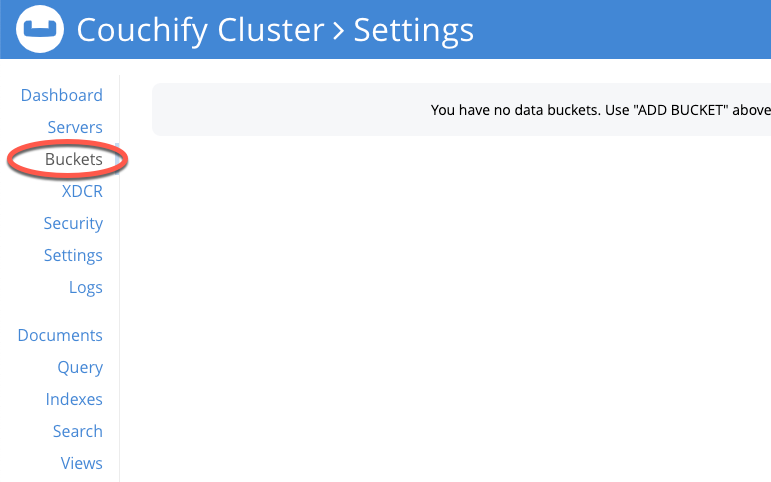
In the Couchbase UI, navigate to and briefly review each top-level screen.
Documentation is available at http://docs.couchbase.com

Lab summary
In this lab you should have completed three key steps.
-
Downloaded Couchbase Software or obtained Docker container
-
Installed Couchbase Server or launched in a Docker Container
-
Configured the Couchbase cluster to be a single node hosting all the services, including the Data Service
These steps are foundational to being ready to develop data-driven applications in Java using Couchbase as the data store. You have one more set of tasks to be ready to write applications. That is to create the necessary buckets and load data. These tasks will be completed in the next lab.
Congratulations! You have completed this lab.